


Building a new app is exciting but getting that app into the hands of real users is not quite simple. Submitting an app to the App Store isn’t as simple as pressing a launch button but it’s not as complicated as it seems.
First, let us understand the term “iOS App Store.”
What is the iOS App Store?
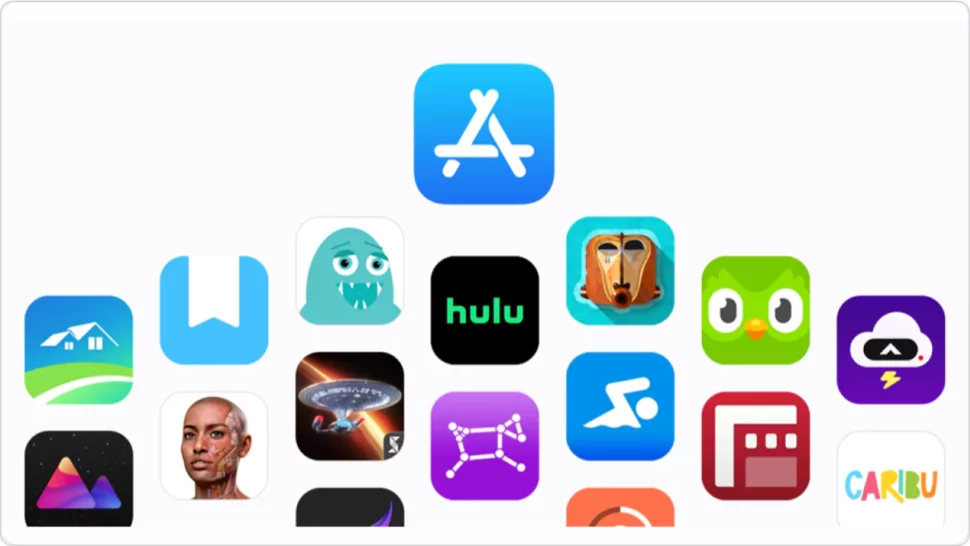
Apple App Store is a digital distribution platform for Apple users to explore iOS & iPad apps. It is one of the most popular app stores & is the home to more than 2 million iOS apps. Thanks to the augmentation & growing popularity of mobile apps, the number is constantly increasing.
Benefits of the iOS app store
- Highly Secure App Platform – Maintain your business details & transactions confidential & secure.
- User Connectivity – Easily connect with your users & convert them into valuable customers.
- Audience Filter – Choose the audience according to your preference as well as the target location.
- Flexible User Interface – Get access to an advanced feature of User Interface to engage with your users.
- Uniqueness – Provide uniqueness to your business, thus called a “BRAND”.
- International Achievement – You can achieve your goals for international markets as well as iOS app development services.
Once you have understood the market & developed a mobile app perfectly by referring to our portable app development guide, you can follow this blog as your iOS app store submission checklist to ensure that your app continues to rule the App Store.
*If you are looking for a checklist on Android App Release, here it is.
Things to consider before submitting an iOS App to the App Store
Your app enterprise’s mission can’t be succeeded without publishing your app on the App Store. The App Store permits your potential customers to download & use your app.
If you want to grace yourself & stand out from the crowd to attract more users, here are some basic things you should remember before uploading your app to the App Store.
Prepare all the Informational Materials
If you want to attract as many users as possible, get marketing materials in handy. Apart from the app name & description, you need to prepare screenshots & promotional text. Make sure to customize all materials for each market, if your app is available in several languages.
Assign the App Build to your account
Before sending the app for review, you need to assign the latest app build to your Apple developer account. You can refer to your app development team to create the required documents & sign the build.
Meet all Legal Requirements
Check out the Apple Developer Program License Agreement to get more information about data usage & storage, health research data protection, etc. Additionally, your iOS app should conform to the legal requirements in any country you’re targeting.
Go through Apple’s Official Guidelines
Apple has official guidelines for the quality of submitted apps & the detailed app information features on the Product Page. Since the App Store is frequently changing, don’t forget to check out the requirements before each app submission.
iOS app Launch: App Store Submission Guidelines
Let’s discuss the step-by-step guide for the iOS app release process & app store submission. Let’s get started.
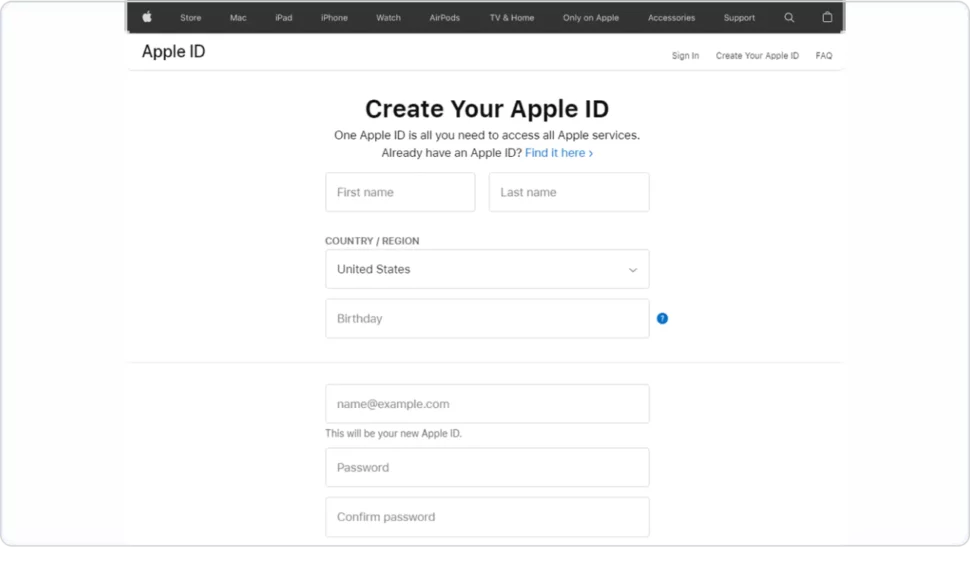
Create an Apple ID
Log in to the Apple Developer Website & create an Apple ID. You must put the basic details like your name, country, email address, password, D.O.B, etc. You will also need to answer certain questions simultaneously. Enter all the information correctly & proceed further.
*Note – Skip this step if you already have an Apple ID.
Activate two-factor authentication
Once the Apple ID has been made, enable the two-factor authentication. This is a much-required factor for all Apple IDs. You can easily form two-factor authentication with the help of an iPad, iPhone, or Apple Computer. Follow the below steps –
- Set up with an iPhone or iPad.
- Using an Apple laptop.
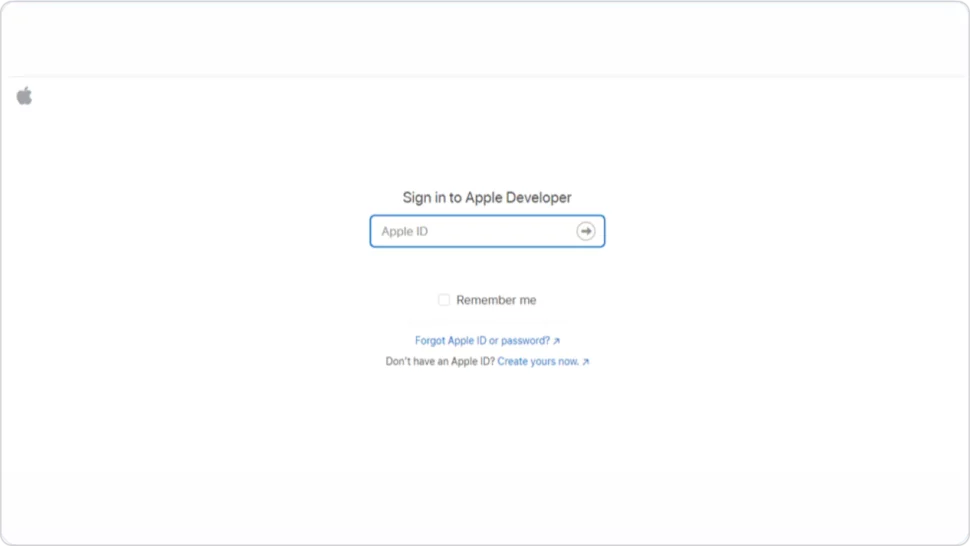
Enroll in the Apple Developer Program
Go through the developer homepage and sign in to your account using your Apple ID. You will be prompted to Apple’s program page, where you can Enroll & join the program. You can opt to enroll as an individual or as an organization.
The membership pricing starts at $99 per year,& it permits you to run other exclusive Apple developer tools & services.You can use the account to manage your apps for iPhone, iPad, Mac, Apple Watch & Apple TV. Apple developers also have access to TestFlight before submitting the app to the App Store.
Assemble Apple App Information
The important step is to assemble all the following information you need to submit before you start the process such as –
- Screenshots.
- Full Name.
- Description.
- Keywords
- Support URL.
- Marketing URL.
- Privacy Policy URL.
- App Icon.
- Categories.
- Rating.
- Copyright, Trade Representative contact information & Demo account.
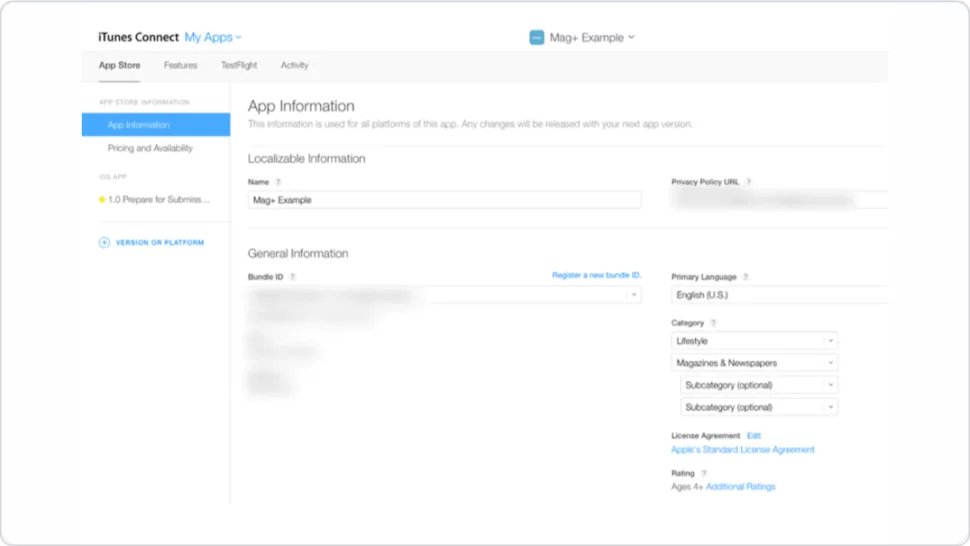
Create a listing via App Store Connect
The next step is to fill an app listing on your App Store Connect Account.
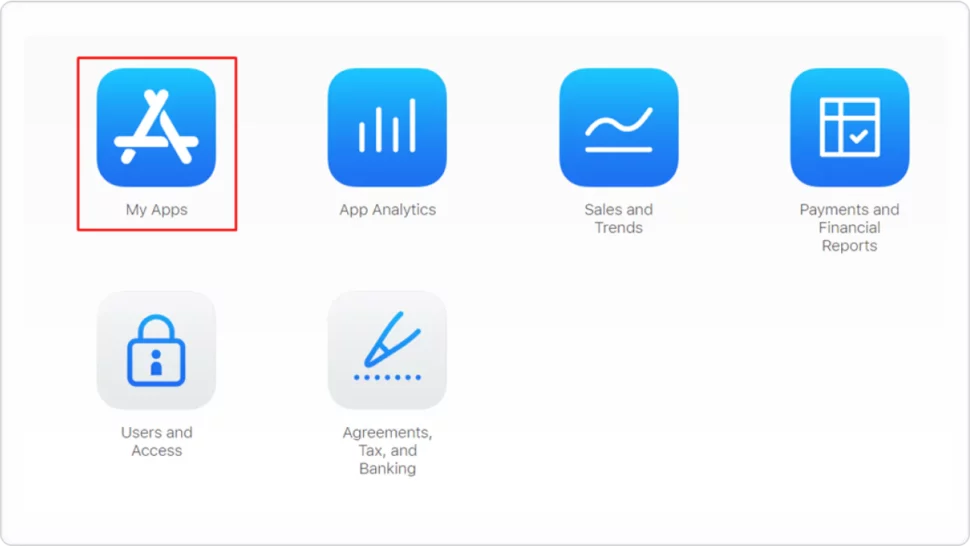
- Go to iTunes Connect & proceed to open the Apps section & navigate to the overview of apps.
- Add a new app by pressing the + symbol & entering the required details.
- Fill in the details like the App name, Primary language of the app, Bundle ID created earlier, SKU, and user access.
- Once done, press the ‘Create’ button to complete the first step of creating an app listing.
Make the Role, Certificates, Identifiers & Profiles
Now, you need to set roles, permissions, certificates, identifiers, profiles & more. Study the Roles for the Apple Developer Program for more information about roles & permissions. You developers also need to get permission to create certificates & provisioning profiles.
After receiving the complete permissions, developers can sign their app & classify the identifier as well as the app’s capabilities in the Certificates, Identifiers & Profiles section.
Disclose your App Build
the certificate used to examine your app development team & permits you to submit an app to the App Store.
App ID
the identifier of your app, the bundle ID must be the same as the bundle identifier.
Provisioning profile
Provisioning profiles are placed in your app binaries & allow the app to run on specific devices before Apple signs it. It can be created for each app.
Disclose your App Build
The developers need to collect the app’s build & pass it. Open your app in Xcode, go to the Signing & Capabilities section, choose the appropriate account, go to the General section & set the build’ version to upload. Make sure to update your app version to 1.0. If you are launching a new app.
After filling in all the necessary information, go to Product-> Archive to bundle our app. Once done, the Archives window will open, then click on the “Distribute App’ button & upload your build to App Store Connect. Xcode will produce all the certificates automatically & alert you in case of any errors.
App Testing
Once your app is uploaded to the App Store Connect, go through the TestFlight section & add QA engineers to your Apple team to test the app for bug detection.
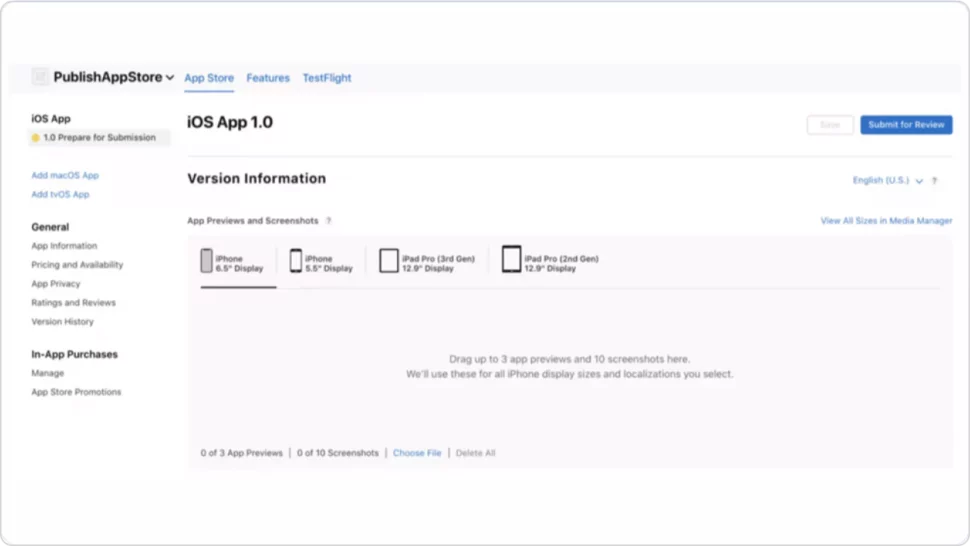
Fill in the Version Information
Then, check out the App Store Connect & select the iOS app you want to launch. Here, you need to mention the app’s screenshot 7 required details.
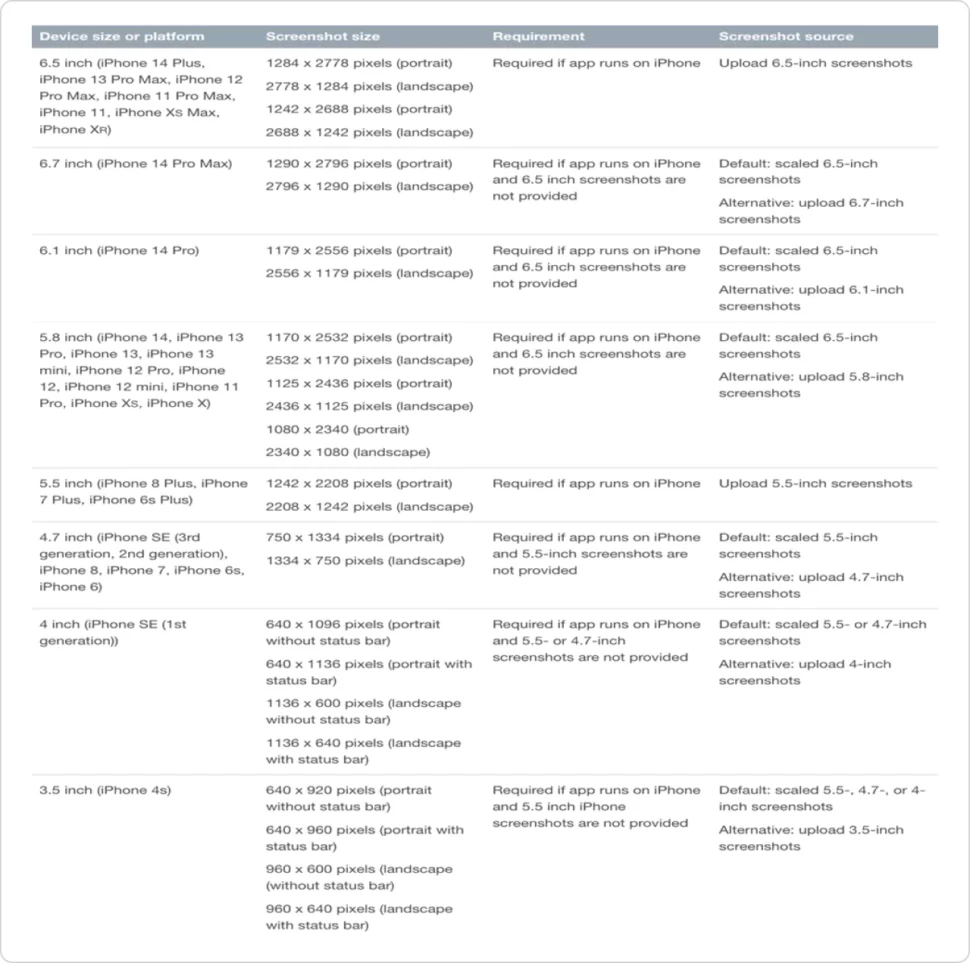
- Screenshots – You can upload at least ten screenshots of 6.5-inch & 5.5-inch iPhones. Look at the Screenshot specification to check out all Apple’s requirements. Screenshots need to be both informative & attractive.
- App Previews – An optional short video displaying the core app features having a length of a minimum of 30 seconds & adding up to 3 app reviews.
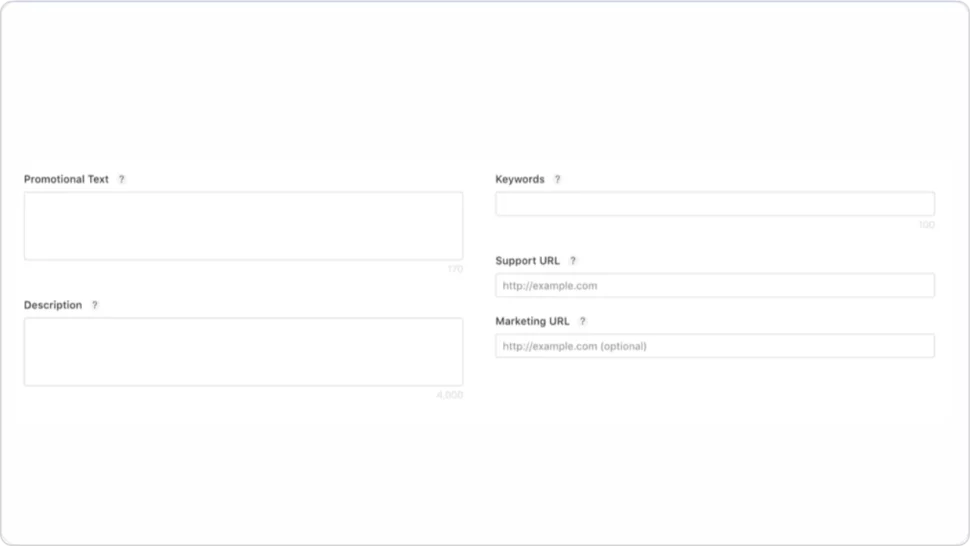
- Promotional Text – It is the only part where you can update without adding a new version of the app to the App Store. The users can see the promotional field before pressing the “Read More” button.
- Description – This field contains all the information regarding app features. It should not contain more than 4000 symbols.
- Keywords – Keywords help users find your app in the App Store & boost your App Store listing. The required keyword must be shorter than 100 symbols & supported by a URL.
- Support URL – A URL with support information for your application.
- Marketing URL – A URL with marketing information about your app.
- Icons – Your app icon should be unique since it is an important part of the user experience on All Apple devices. Apple has mentioned the correct shape & requirements. Check below –
- Resolution – 1024px*1024px, 72 dpi
- Format – PNG
- Color Space – RGB with no transparency
- Shape – Square with no rounded corners.
- Select the Release Date
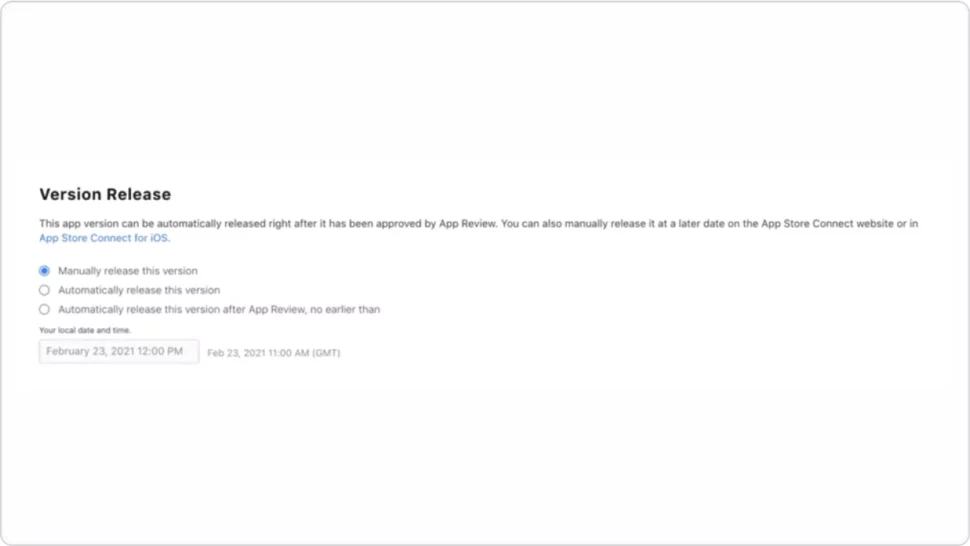
Once you apply for review, your app will be on the waiting list for Apple’s review & certification team which may take up to two weeks.
You can decide how you want your app to be released either it e Manually, Automatically, or Automatically with date restrictions. It’s totally up to you which option you want to go.
- Determine Age Ratings Before submitting your app for review, the last step is to go to the Set app age rating section & complete the survey. Apple will set the age rating of your app automatically based on the answers.
- Submit Your App for Review Finally, your app is ready for review. Go through the TestFlight & choose the tested app build. It must fulfill all Apple requirements.
How long does it take to get App Store Approval?
Generally, approval takes between one or three days, & if you get it, it can take up to 24 hours for your application to display in the App Store. You’ll receive emails at each stage automatically.
If your app is rejected? Then!
You’ll need to make the necessary adjustments before you can submit your app again for review. In this case of any query, use the Resolution Center in App Store Connect to communicate with Apple.
You can also raise the issue & submit an appeal if you think your app was wrongly rejected.
One of the most common reasons for rejections from the Apple store is performance. Ensure that your app i complete & bug-free. Using a UG reporting tool during beta testing will minimize your app’s chances of being rejected based on performance.
If your app is approved! Congratulations!!
The Apple App Store reviews all apps, app updates, app bundles, in-app purchases & in-app events submitted to the App Store to provide a safe & trusted experience for users & the opportunity for developers to succeed. As you plan & build, use these guidelines & resources to help the review process go smoothly.
- Preparing for Review.
- Submitting for Review.
- Common Issues.
- Contacting Us.
Mobile App Live on iOS App Store
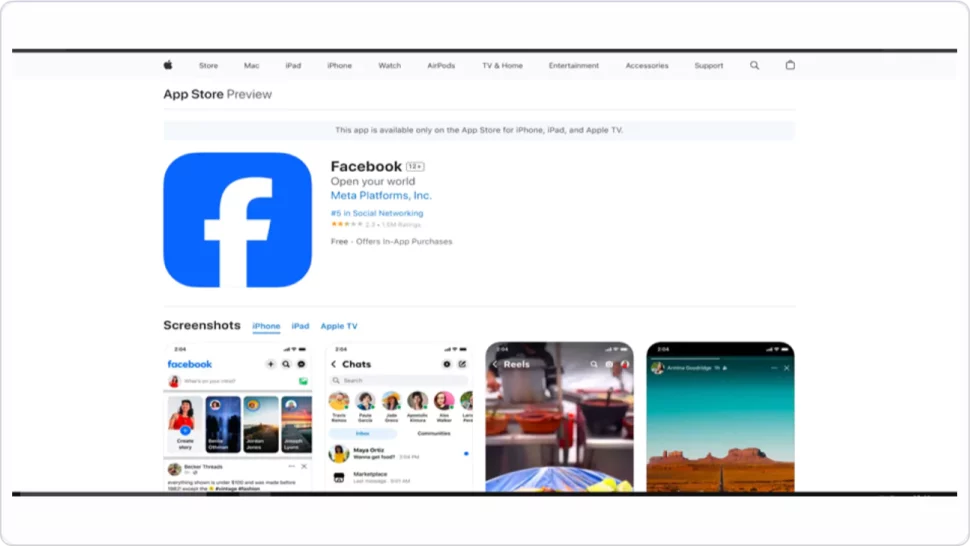
Congratulations! You can now access the App Store. You can view downloads, ratings, sales & reviews directly in App Store Connect.
Conclusion
The App Store submission process might seem a bit frightening, especially if you’ve never done this before. But if you build an iOS app with Ailoitte, we’ll handle the publishing process on your behalf.
You’ll still need to create your own Google & Apple Developer accounts, our team will handle the full process.
If you are facing any problem or issue in submitting the App then you can hire an iOS app developer from us or you can reach out to us to achieve your goals.
FAQ’s
NO, you need to create a developer account to apply to the App Store. It costs $99 a year for both individuals & organizations.
Apple-approved unique apps that provide value to the App Store & meet the App Store Review Guidelines. On average, it takes 24 hours to pass through Apple’s review process.

Share this article:
Leave a Reply


100+
Project Launched

80+
Happy Clients

18+
Countries Served

91%
Returning client base
.png)
.png)
.png)


Leave a Comment